If I'm not wrong - though my memory isn't one to trust - I knew Stephanie from Swoodson Says, through this series, like a year ago. She runs the most amazing sewing and crafting fb group, not to mention her own blog, full of variety, what an inspiration. She embraced refashion as a way of living, just like myself, and that's one of the reasons why I specially like this lady here. Make sure to visit her blog today (link provided below) for the greatest tips for thrifting shopping.
Hi! I'm so happy to be here; I just had my second kid 4 months ago and have a huge stack of clothes that I have big ideas for. Blog events give me a deadline and the motivation to make it happen! I'm sharing a bunch of tips and some "action shots" to help you shop more effectively when looking for clothes to upcycle or refashion over on my blog today if you want to read more.
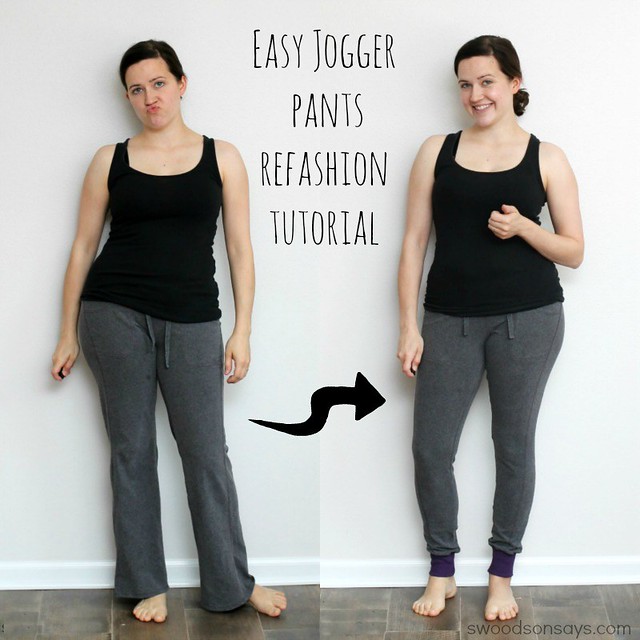
Jogger pants have been trendy lately; I made a pair of True Bias Hudson pants when I was pregnant and have been wearing them like crazy. I like a bootcut silhouette but I hate how the hems get wet, dirty, and dusty when I chase my toddler around! These grey pants are so comfy and have awesome big pockets but I find myself not wearing them because they get so filthy - so I decided to refashion them into slimmer, cuffed pants. It's a pretty easy fix and you can see how below, refashion a pair for yourself.
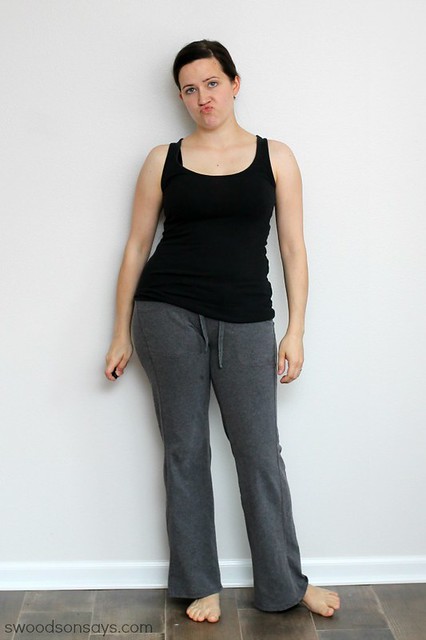
The before - comfy but not cutting it.
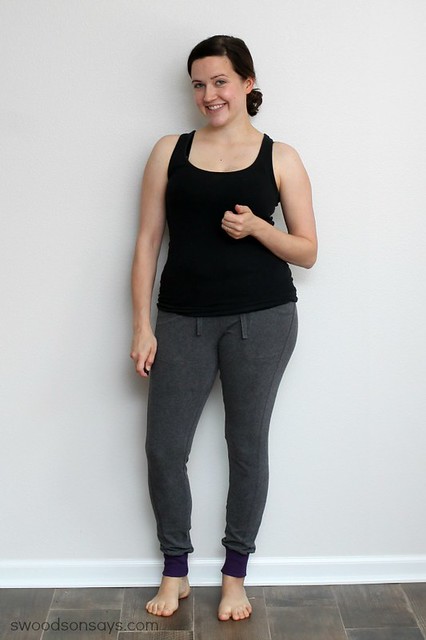
The after! Comfy, cozy joggers with a pop of purple (my favorite color!)
Step 1
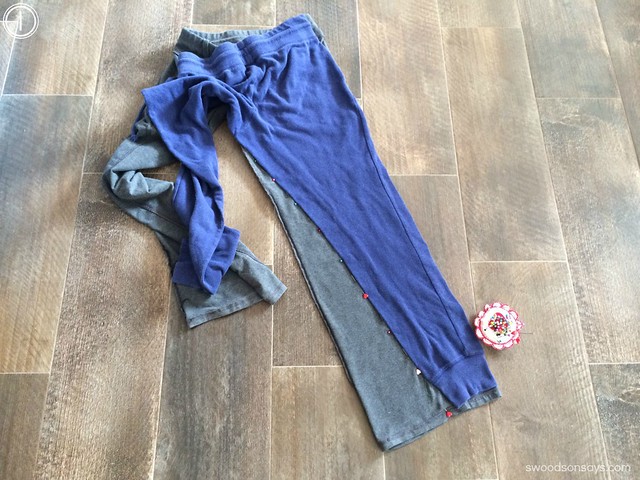
Lay a pair of joggers that you like the fit of over top of your track pants. If you don't already own a pair, you can eyeball the curve, arching out from the crotch seam. Make sure both pairs of pants are laid completely flat, you can match the outseams but I didn't because both pants had stylistic curves. Use pins to follow along the new seam you'll be creating and sew a basting (long stitch length) stitch just outside your pinned line.
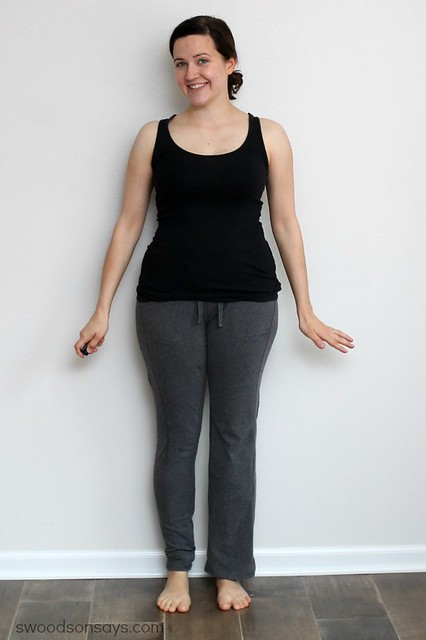
Try them on! Make sure that there aren't any tucks, folds, and that you like the fit. Use a regular stretch stitch or a serger to make the new seam permanent and trim the excess off.
Step 2
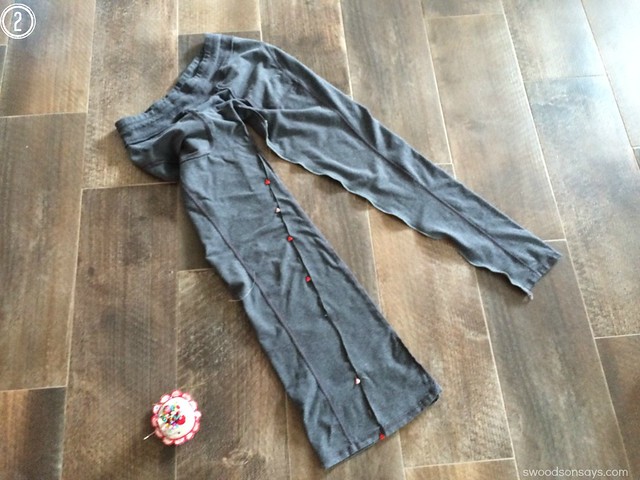
Lay the excess piece on the other leg and pin outside of it, repeat with the basting, trying on, and finishing the seam.
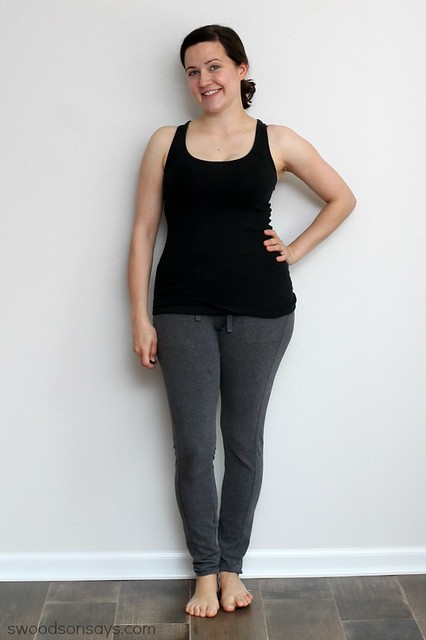
You could stop here if you like the look! I wanted to add a cuff, so keep reading.
Step 3
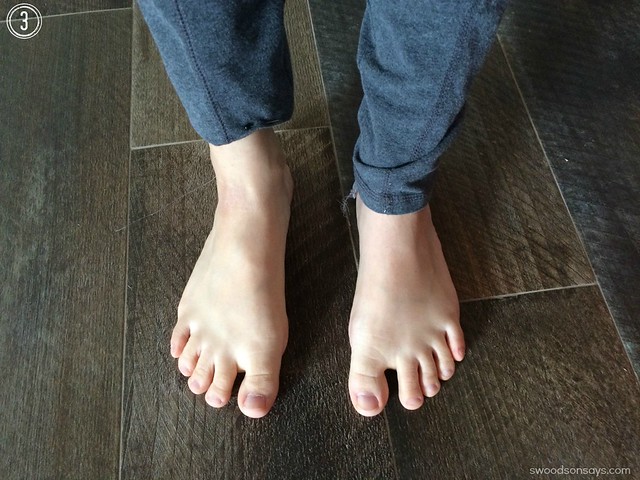
Sorry, feet shot, but use a pin and mark the desired length. Remember that you'll be adding length with your cuff. Cut off the excess length.
Step 4
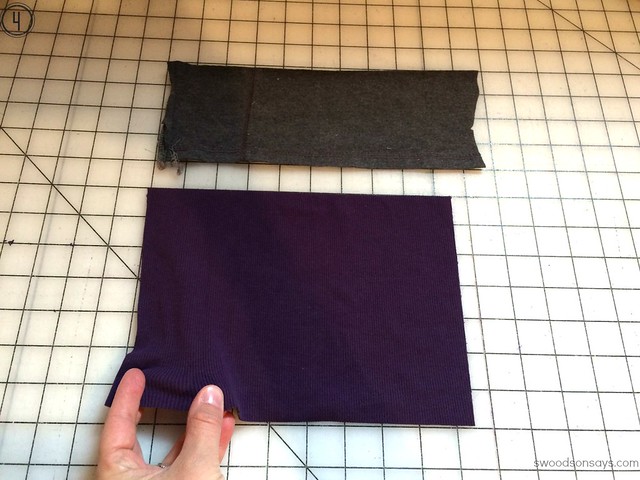
Lay the excess piece you just cut off the hems and cut the side seam so it's flat. You can use this to gauge the length of your cuff. When cutting your cuff, remember that the stretch needs to go from side to side, not up and down; ribbed knit is the best type of fabric to use. I cut my cuff about an inch shorter than the leg's opening.
Step 5
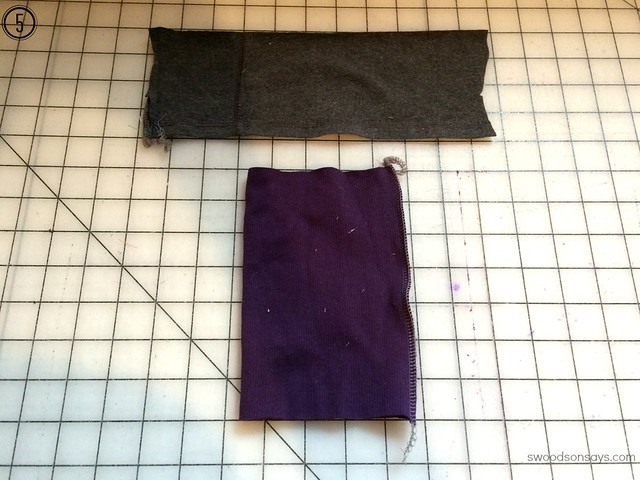
Remembering which way the stretch needs to go, sew up the vertical side with a stretch stitch or a serger. Pull one edge up over itself so the wrong side of the seams are touching each other and all the edges match up.
Step 6
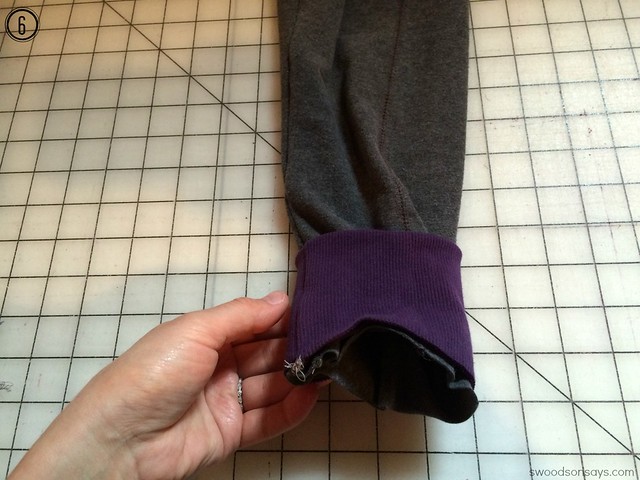
Making sure your pants are right side out (not inside out), pull the cuff up so all raw edges are aligned. Sew with a stretch stitch or serger around them, gently stretching the ribbing to fit.
Step 7
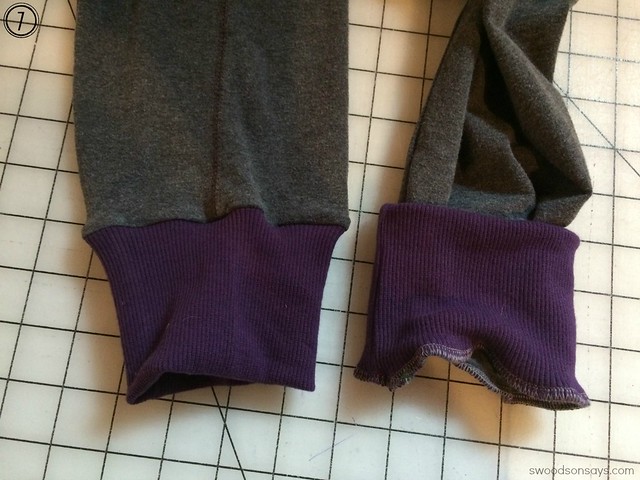
Repeat all steps to create another cuff and do the next leg. Ta-da! You're done.
From a Box * Rebel and Malice * In a Manner of Sewing * Miss Castelinhos * Threading My Way * Fairies, Bubbles and Co. * Mabey She Made it * Conversas de Hermanas * Lulu and Celeste * Made by Sara * La Folie * Climbing the Willow * HattieLu Handmade * Swoodson Says * Knot so Normal* Friends Stitched Together * Just Another Project * Sew Thrifty


I think your memory is right! Thanks for having me, Magda!
ReplyDelete