Carissa, from Carissa Knits was a guest last season too. I had no doubts about bringing her back this year. You see, after July Refashion Month, we got to compete together in the Refashion Runway 2, just like some of the guests that have posted before, and she just kept surprising me week after week. she has become a refashioning diva, and a great inspiration, especially if you are new to refashions... she always shares a tutorial on how she transformed anything and makes things so clear and easy to follow.
...
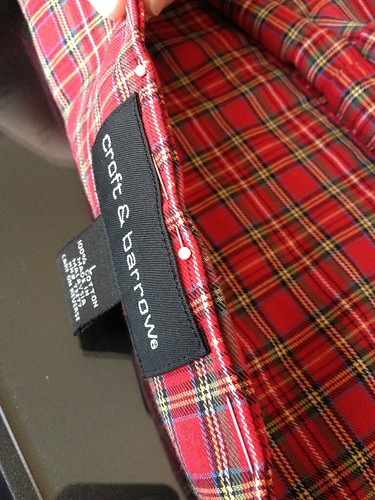
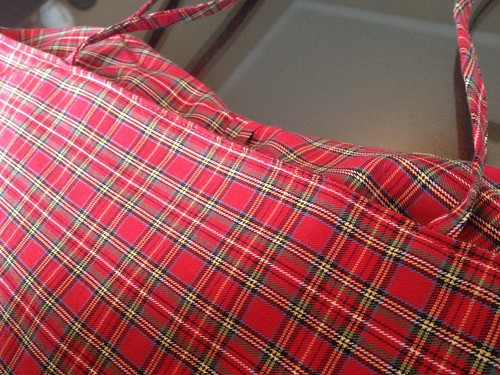
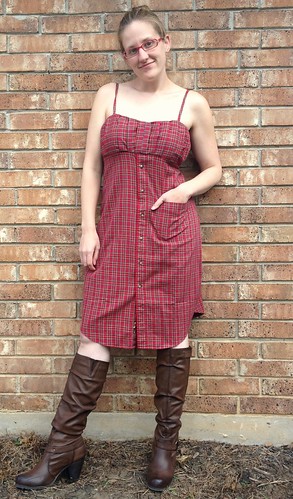
A recent warm spell in what ought to be the dead of winter had me craving a new sundress this week. So I pulled out one of my husband's shirts he'd never worn and which no longer fits. Who doesn't love a good men's shirt refashion?
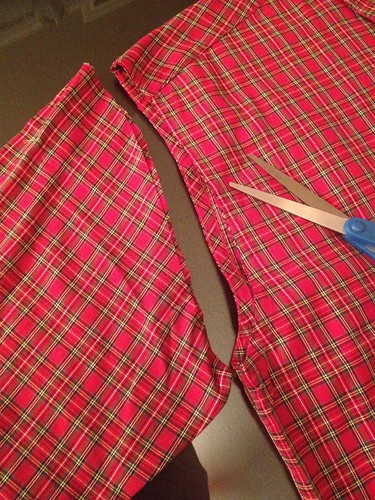
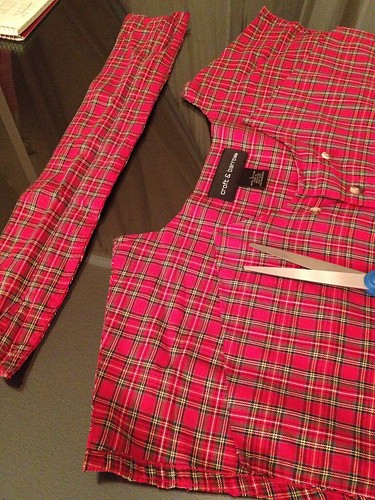
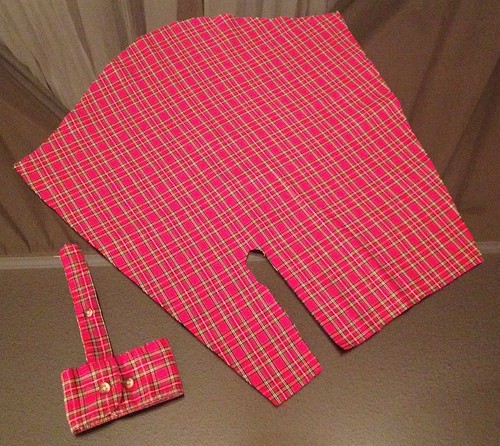
I began by removing the sleeves and collar and opening up the shoulder seams.
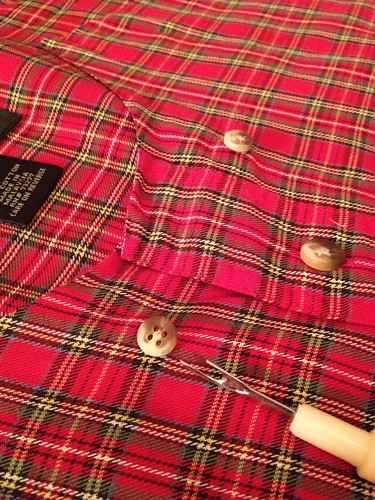
I also snipped off those tiny buttons that hold the lapel points down.
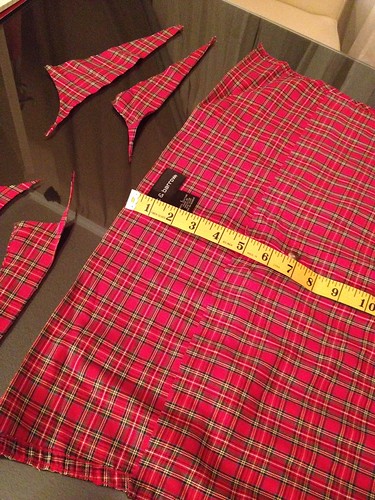
I evened up the top edges, with the front about 5 inches shorter than the back.
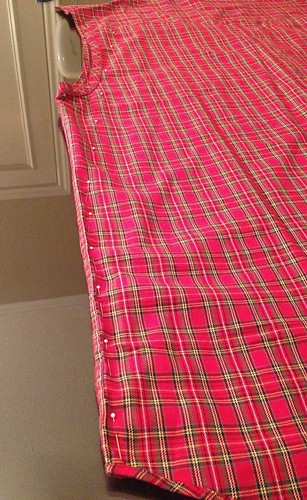
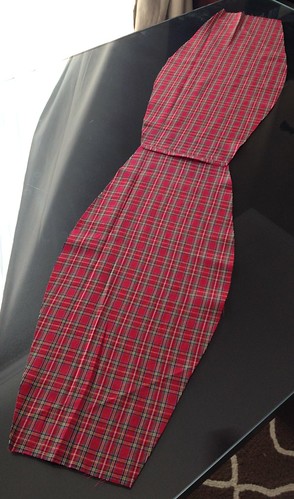
Then I pinned out the shape of an A-line skirt and sewed down each side.
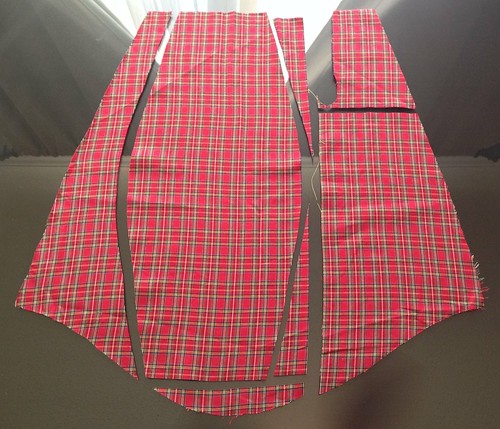
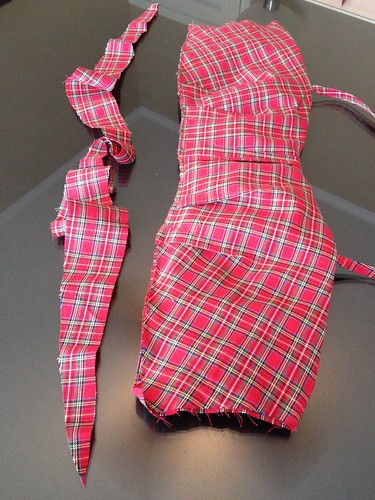
Setting the skirt aside for a while, I grabbed my cut-off sleeves. I dissected each and then cut pieces for the bust of my new dress. I'll be using the two biggest pieces - the oblong one and the trapezoidal one. I also cut mirror images of these pieces from the other sleeve.
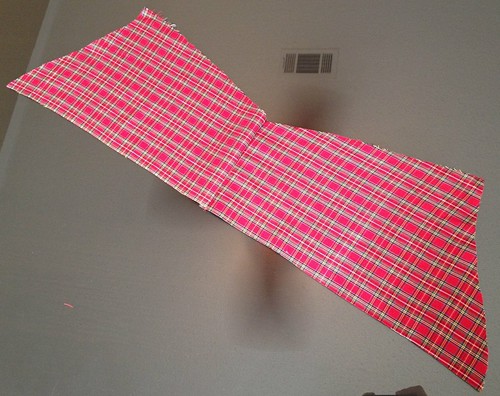
I sewed the two trapezoids end-to-end and add four bust darts.
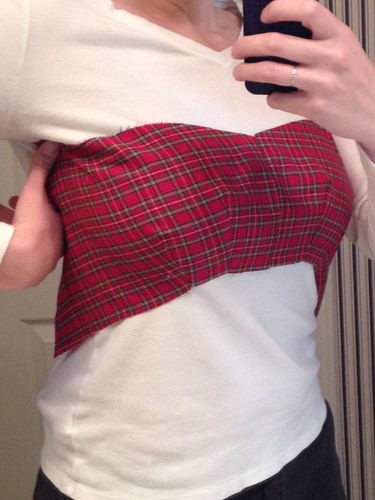
Without my own dress form, I made sure it would fit the old-fashioned way.
I trimmed off the excess. This will be the lining for my bust panel.
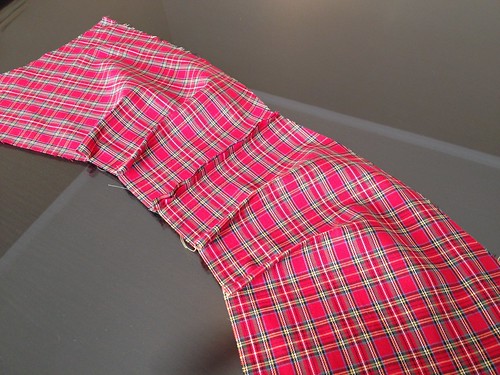
I attached the two oblong pieces to one another as well. These will be gathered as the decorative outer layer of my bust.
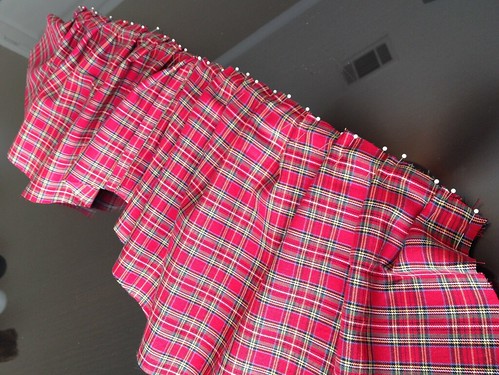
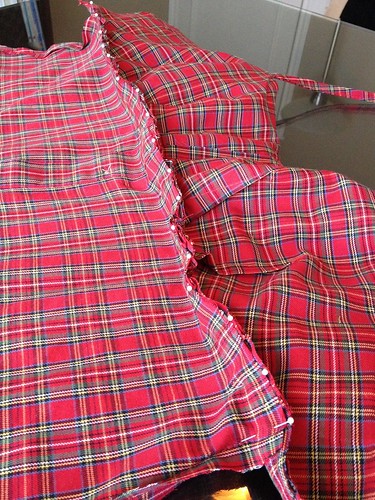
Then I started pinning the oblong pieces to the trapezoidal pieces, pleating the fabric as I went, but I didn't sew them together quite yet.
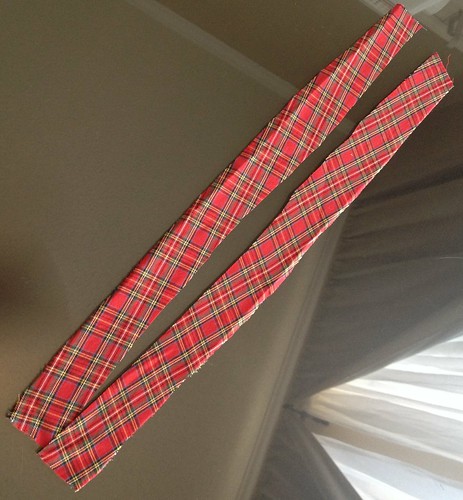
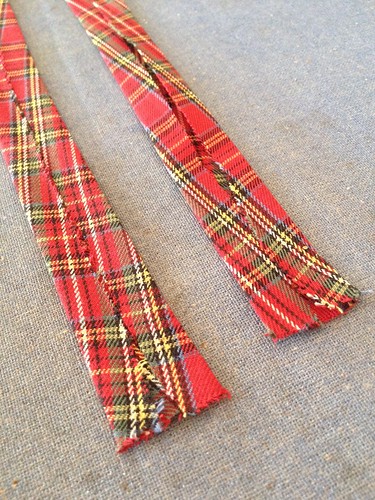
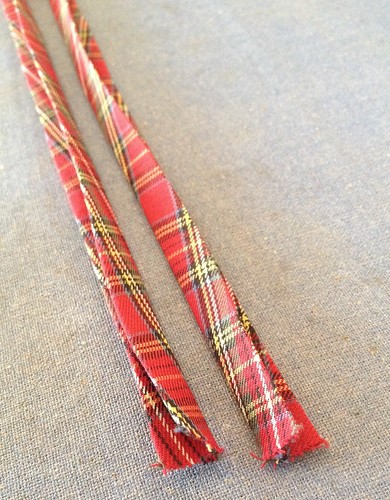
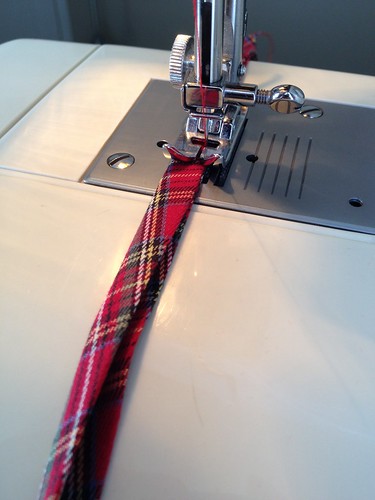
I cut two long strips from my sleeve scraps to make straps for my new dress. The sides were folded inward, then they were folded in half length-wise, and finally a line of stitching secured them.
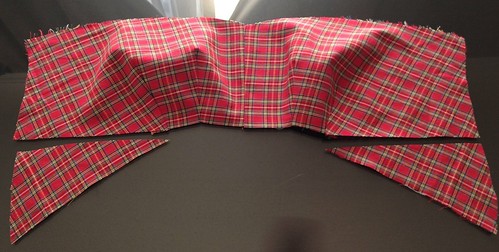
I inserted my straps in between my two bust pieces and sewed the pinned and pleated edge.
Then I flipped my pieces right-side-out and pleated the bottom edge as well.
Once that was sewn, I trimmed the excess and attached the bust to the front portion of my skirt.
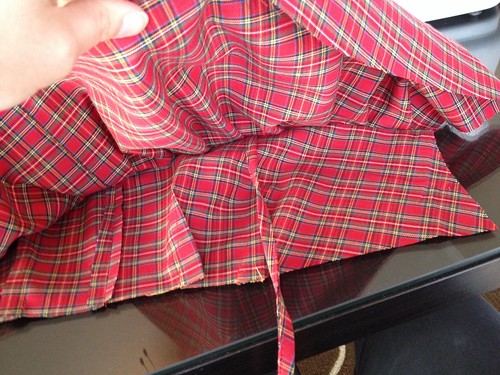
Since the top of the back of most men's shirts is two layers, finishing the back edge of my dress was easy. I just folded each edge inward and stitched them together. But not just yet! I had to insert my straps before closing up the edge, but I needed to try it on to determine how long the straps should be. For now, I just pinned it.
Next, I closed up the sides of the bust/back portion.
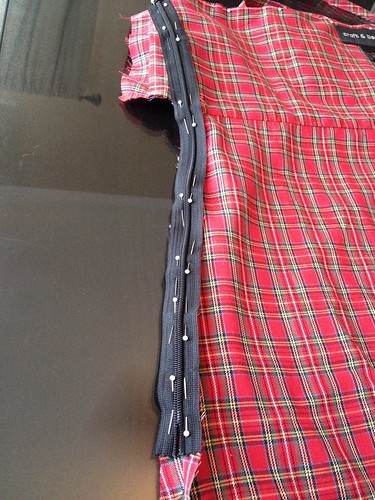
I salvaged a zipper from another refashioned dress and pinned it to the inside of the pressed side seam.
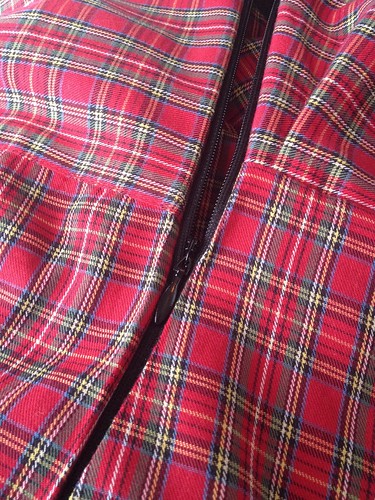
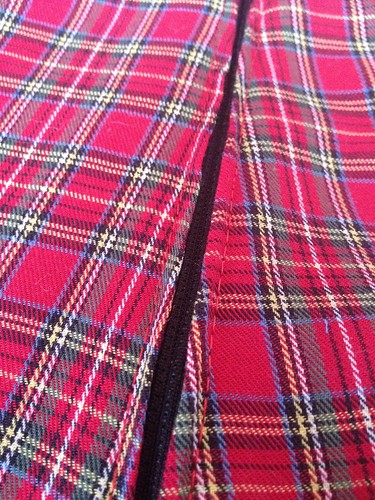
Once I ran it under my sewing machine, I used my seam ripper to open up the side seam where the zipper was now. Then I flipped the dress right-side-out and top-stitched along the sides of the zipper.
With my zipper installed, I could now try on my dress and measure the strap length. And lastly, I inserted the ends of the straps into the top back edge and closed it up.
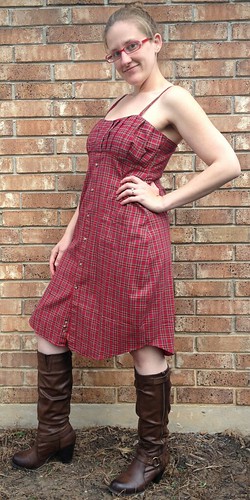
And then I was finished! It's a light-weight cotton perfect for summer, but for now, I can throw on a jacket and boots, maybe a pair of tights if need be, and I'm all set!
Thanks again, Magda, for inviting me to join in your refashion month!









Wow :oO !! Great refashion!! Congrats to Carissa ;o)
ReplyDeleteThanks, Susanna!
DeleteWow you really utilized some skills to reconstruct this dress and I love it! Although with it being so cold here I keep thinking it needs to be warmer lol I have to shake my head and remember that in summer there IS hot weather! Well- you did an awesome job!
ReplyDeleteMae
Thank you, Mae! I'm in the northern hemisphere as well, so while it is technically winter, sometimes that means up to 60-70F here in Texas. Of course, today it's back down to almost freezing, so I guess my new dress will have to wait.
DeleteYeah, this one is seriously good! I love how you created the pleating at the bust...everything is so professional looking :) Love when a refashion looks like it was meant to be that way from the start; sign of a good seamstress/sewist! You inspire me to continue to get better and better. Great great great job!
ReplyDeleteThanks, Andrea! Handmade not homemade - that's my motto!
DeleteThis is CUTE! Oh my wow. Fantastic job!
ReplyDelete~M
Thanks! Glad you like it!
DeleteI absolutely love this refashion, Carrissa! You did a fantastic job- the gathered bust is so pretty and I really like that the length hits at about the knees. *Sigh* great...another project to add to my already over-abundant list of projects to try! ;) Thanks for sharing!
ReplyDeleteI am so sorry to burden you with more projects for your to-do list. I know how we all just hate to spend hours slaving over our sewing machines. ;)
DeleteBEAUTIFUL job with your refashion, Carissa! Thank you for providing a detailed tutorial so that I can try too! You and your work are an INSPIRATION!
ReplyDeleteThank you! Always happy to inspire others!
DeleteThat's a GORGEOUS dress!! Thanks for sharing, what an inspiring job :)
ReplyDeleteThanks, Gema! I'm pretty happy with how it turned out as well.
DeleteFabulous refashion!!!
ReplyDeleteThank you, Pam!
DeleteI LOVE that pleating on the bust. Do you measure your pleats or eyeball them? I also love how you used up so much of the shirt.
ReplyDelete(Side note that will instantly date me: sewing the zipper into the seam and then ripping the seam is exactly how we were taught to install a zipper in home ec in the 60's - except we just machine-basted the seam so it would be easy to take out. You smart cookie :))
Thanks, Jenny! In this case, I pretty much eyeballed the pleats. I pinned the ends and center, then found the center of each half and pinned those, then the center between those, etc. Once I had a pin every inch or so, I folded the excess fabric into pleats.
DeleteI'm not sure where I learned the zipper trick. I have not a lick of formal training in sewing, so I may have seen it on someone else's blog or read it somewhere. Who knows!
wow is all I can say!
ReplyDeleteI love this refashion and the how-to is great so I shared it on my "most helpful refashion tutorials" Pinterest board. Thank you,
ReplyDeleteEddie